
Text is a massive part of any mobile application, so making sure it looks great and is easy to read is essential. In this guide I’m going to be covering methods in which text can be styled in Flutter. This includes using custom fonts, sizing, fontWeight, global theming and more.
If you aren’t familiar with Flutter, then you can check out my Introduction to Flutter post here.
Project Setup
Okay, let’s get started! Create a new Flutter project:
# Create a new Flutter project
$ flutter create text_styling && cd text_styling

# Open project in VS Code
$ code .
Now, let’s create a new MaterialApp inside of main.dart so we can start playing around.
import 'package:flutter/material.dart';
void main() => runApp(MyApp());
class MyApp extends StatelessWidget {
Widget build(BuildContext context) {
return MaterialApp(
title: 'Text Styling in Flutter',
home: Scaffold(
appBar: AppBar(
title: Text('Text Styling in Flutter'),
),
body: Center(
child: Text('This is some text!'),
),
),
);
}
}We should be seeing something like this:
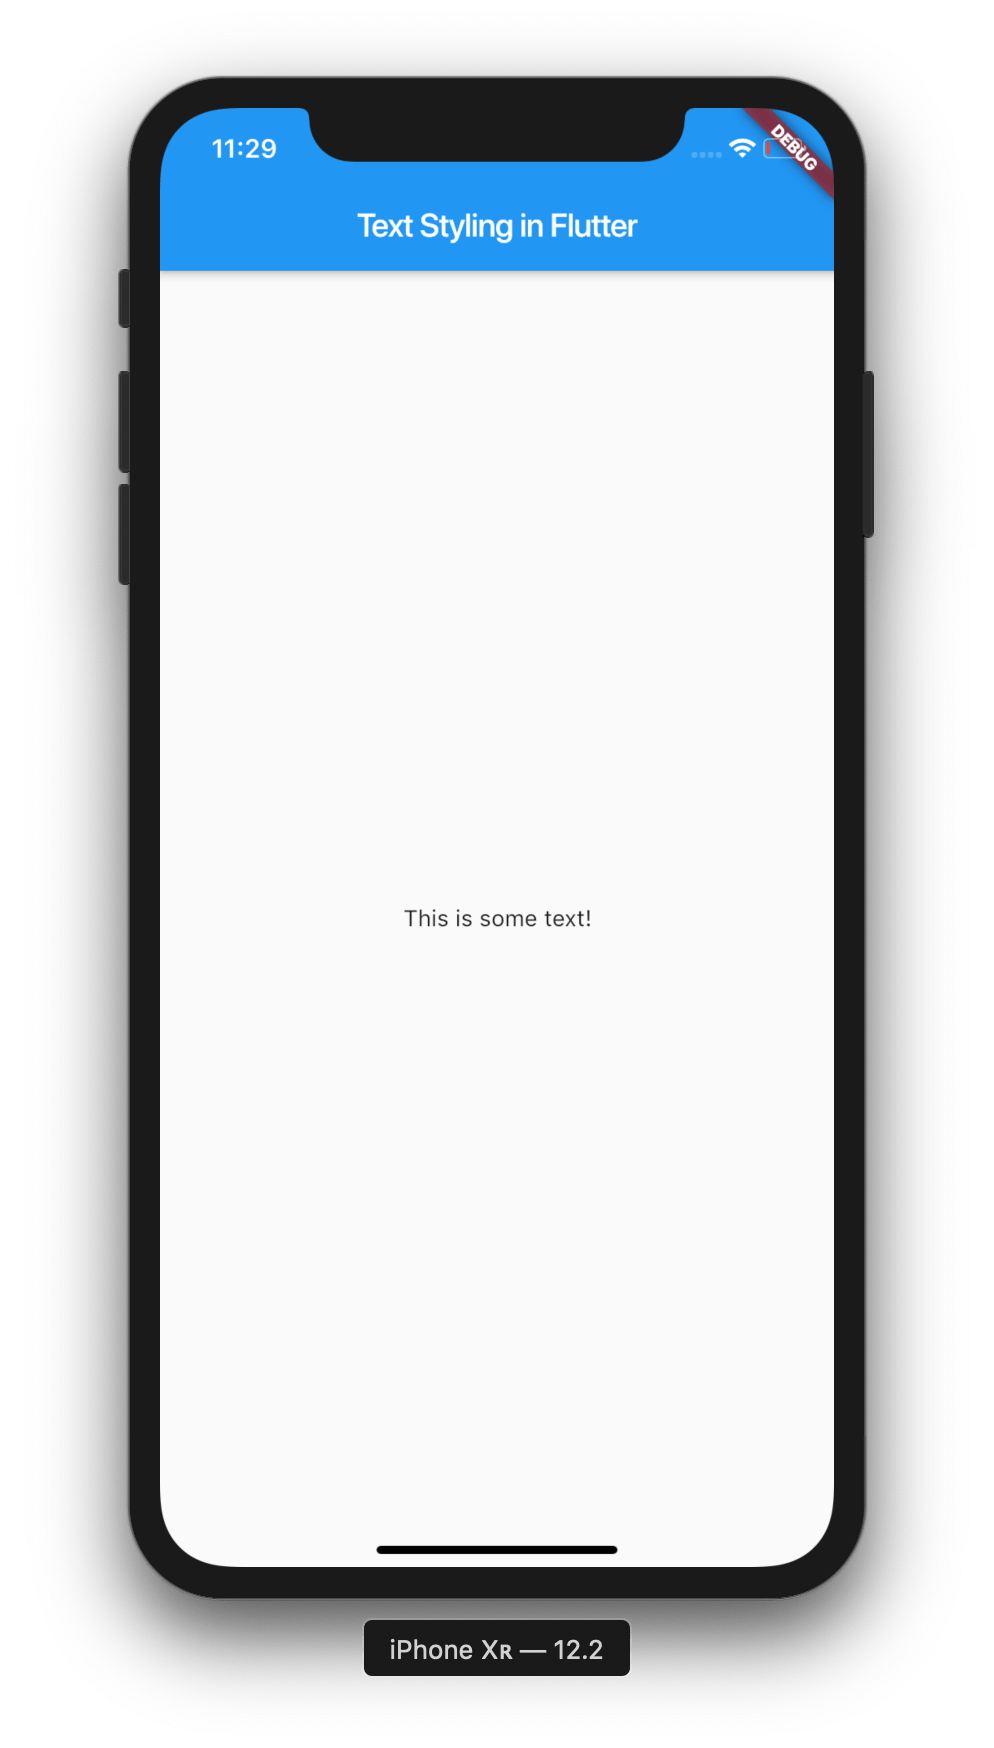
As we can see, we’ve got an AppBar with a title, and a Text widget which is centered in the middle of the screen. Now let’s move onto styling our Text widget.
Text Properties
Inside of our application, we’re going to be supplying our Text widget with a TextStyle. This allows us to assign a number of properties, including fontSize, fontWeight and color. Let’s assign those properties to our Text widget:
body: Center(
    child: Text('This is some text!',
    style: TextStyle(
      fontSize: 60.0,
      fontWeight: FontWeight.bold,
      color: Colors.blue
      ))
   ),
Our application should look like this:
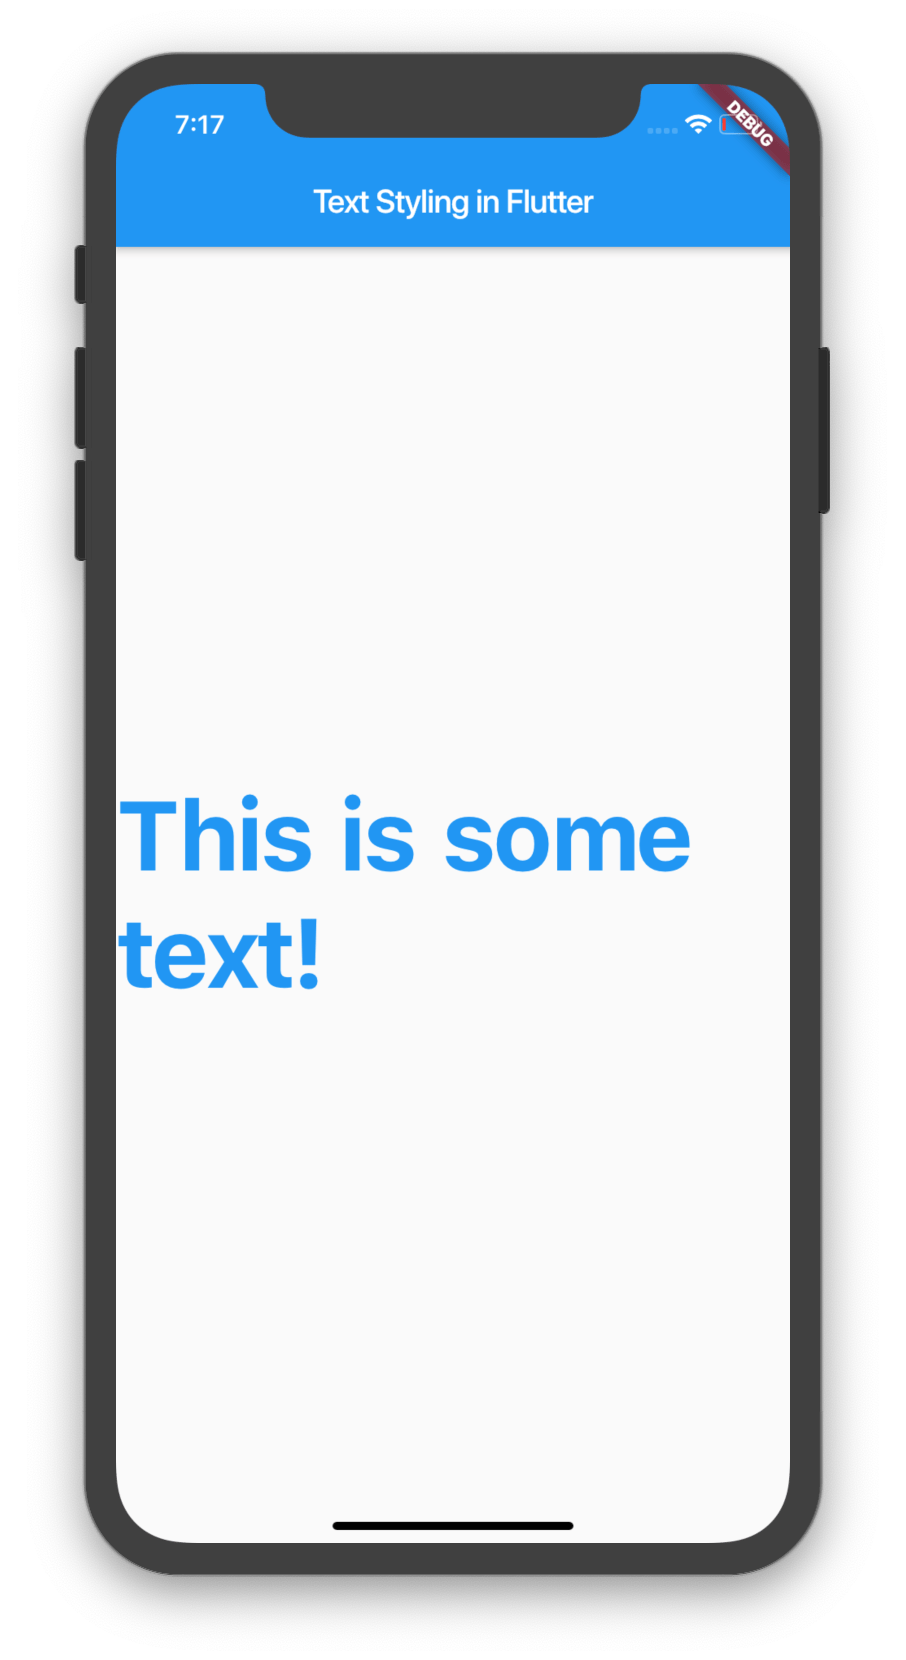
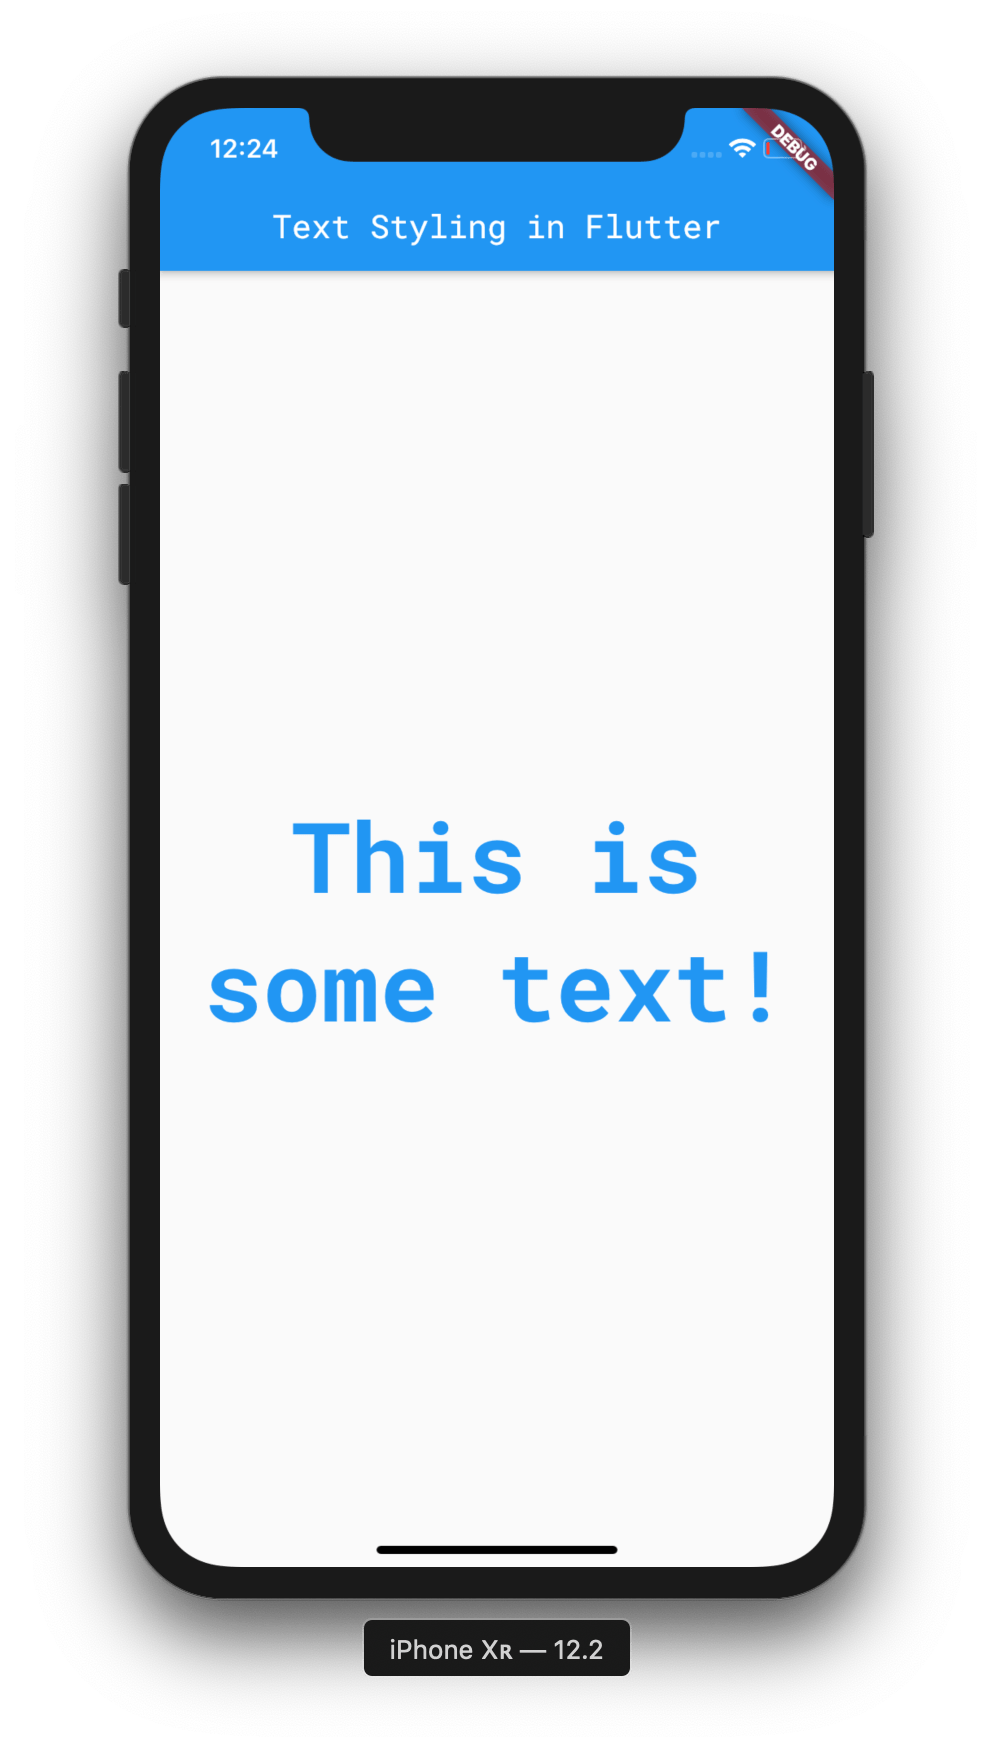
Hmm, something doesn’t seem right. Our text is the correct size, but it isn’t centered. Let’s fix that by adding the textAlign property to our Text widget, and then giving it a value of TextAlign.center.
body: Center(
    child: Text('This is some text!',
    textAlign: TextAlign.center,
    style: TextStyle(
    fontSize: 60.0,
    fontWeight: FontWeight.bold,
    color: Colors.blue,
    ))
),
Now let’s see what that gives us:
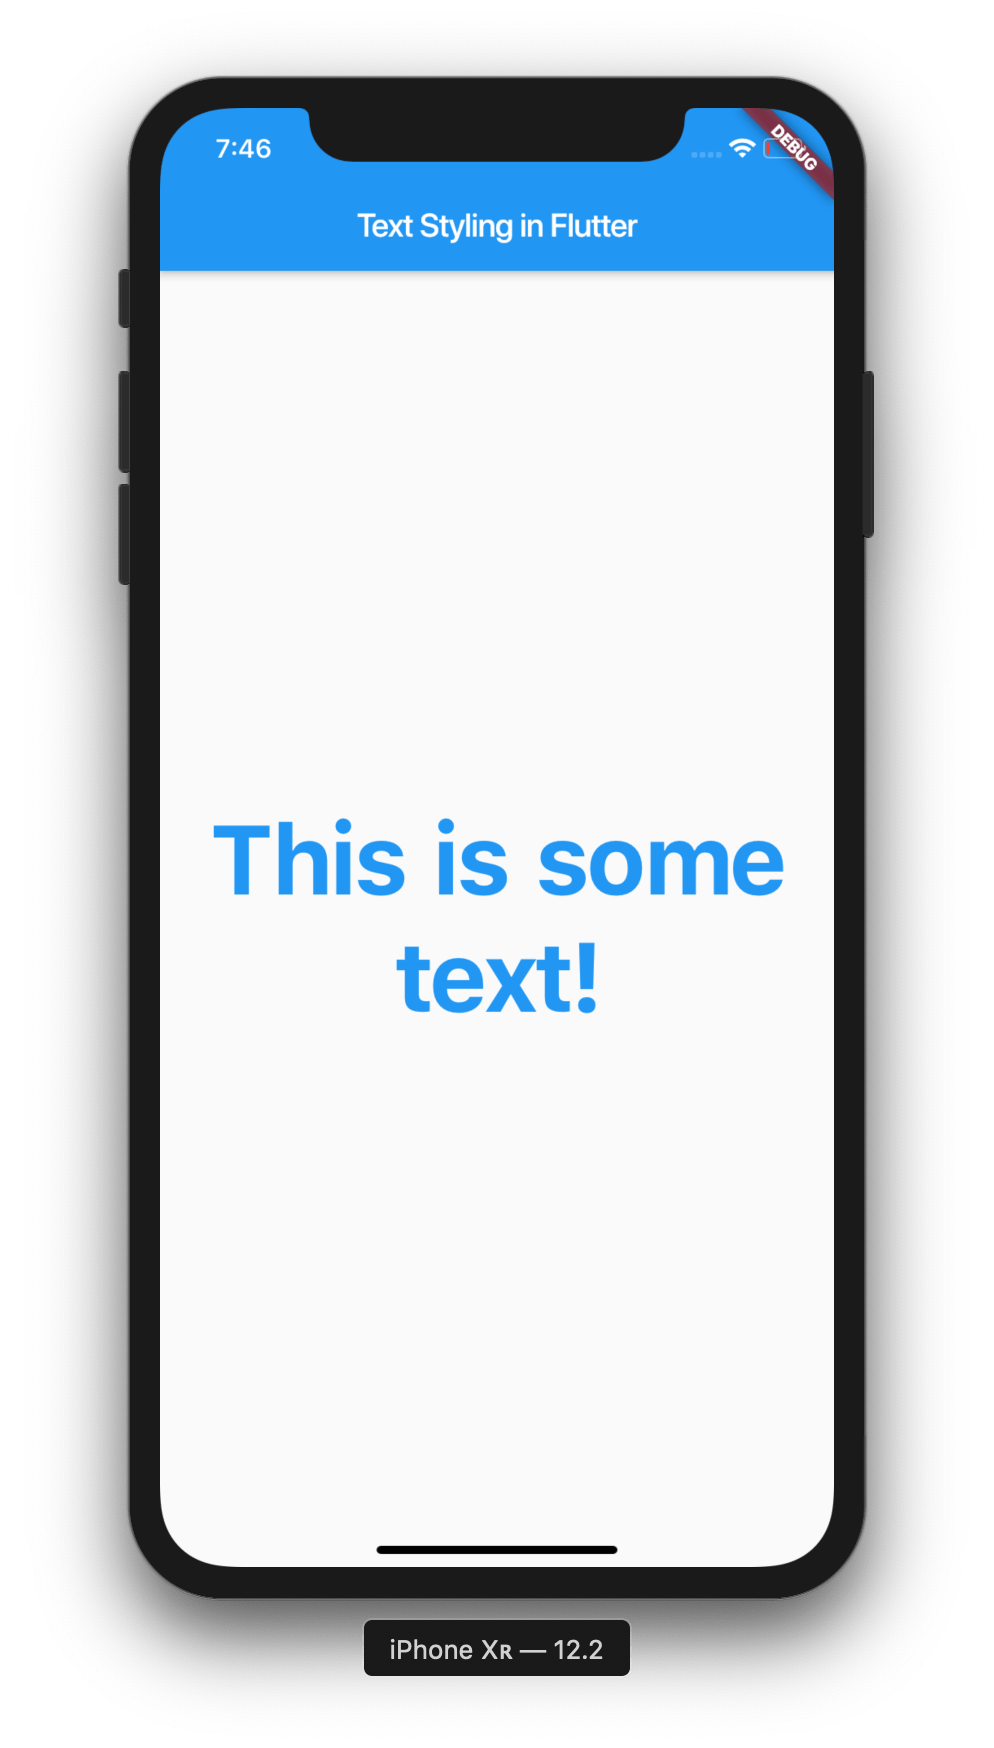
Great! Our text is starting to look more stylish now. Let’s begin to explore some properties more in-depth.
fontWeight property
The fontWeight property can be supplied with multiple values using the fontWeight constants. Not only can you supply values such as bold and normal, you can actually supply a custom fontWeight by using FontWeight.w[weightValue], ranging from 100 (thinnest) to 900 (extra bold).
Custom Fonts
Now we’ve created our Text Widget and applied a TextStyle, let’s explore custom fonts. Even though Android and iOS provide very high quality fonts, you may be required to use a custom font in your application. For instance, you might need to use a custom-made font from a designer, or even a font from Google Fonts. We’ll be going through how to apply fonts across an entire Flutter Application and to specific widgets.
Adding a new Font
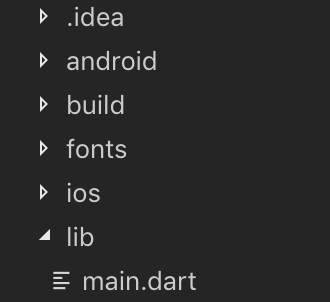
To add a new custom font to your app, create a fonts folder at the root of your application, like so:
To work with our fonts, we’re going to have to import the font files into our project. I’m going to be using Roboto Mono, but you can use any font that you like!
Place your font files inside of the fonts folder you just created. Next up, we’re going to have to declare our new custom font inside of our pubspec.yaml, so our Flutter application knows where to find it. For instance:
# Replace Roboto Mono and assets with your chosen font

fonts:
  - family: Roboto Mono
    fonts:
      - asset: fonts/RobotoMono-Regular.ttf
      - asset: fonts/RobotoMono-Bold.ttf
        weight: 700
Setting A Default Custom Font
We have two options when applying fonts to text within Flutter. We can either set a font as the default throughout an applicaiton, or we can apply a font to a specific Text widget.
To set a font as the default, we will need to set the fontFamily property as part of our app’s theme. The value of the fontFamily property must be the same as the family name of the font that we declared inside of pubspec.yaml.
return MaterialApp(
      title: 'Text Styling in Flutter',
      theme: ThemeData(fontFamily: 'Roboto Mono'),
      home: Scaffold(
        appBar: AppBar(
          title: Text('Text Styling in Flutter'),
        ),
        body: Center(
          child: Text('This is some text!',
          textAlign: TextAlign.center,
          style: TextStyle(
            fontSize: 60.0,
            fontWeight: FontWeight.bold,
            color: Colors.blue,
          ))
        ),
      ),
    );
Now, if we restart our application entirely, we should see that our custom font has been applied:
Great! Our text is starting to look better now.
Widget Specific Custom Fonts
Now, what if you want to apply your font to the Text widget inside of your application, but don’t want to apply it elsewhere, such as your appBar? This is where widget specific fonts can come in handy. We can actually apply a custom font to the Text widget inside of our TextStyle class, like so:
return MaterialApp(
      title: 'Text Styling in Flutter',
      theme: ThemeData(fontFamily: 'Roboto Mono'),
      home: Scaffold(
        appBar: AppBar(
          title: Text('Text Styling in Flutter'),
        ),
        body: Center(
          child: Text('This is some text!',
          textAlign: TextAlign.center,
          style: TextStyle(
            fontSize: 60.0,
            fontWeight: FontWeight.bold,
            color: Colors.blue,
            fontFamily: 'Lobster'
          ))
        ),
      ),
    );
Let’s see what that now gives us:
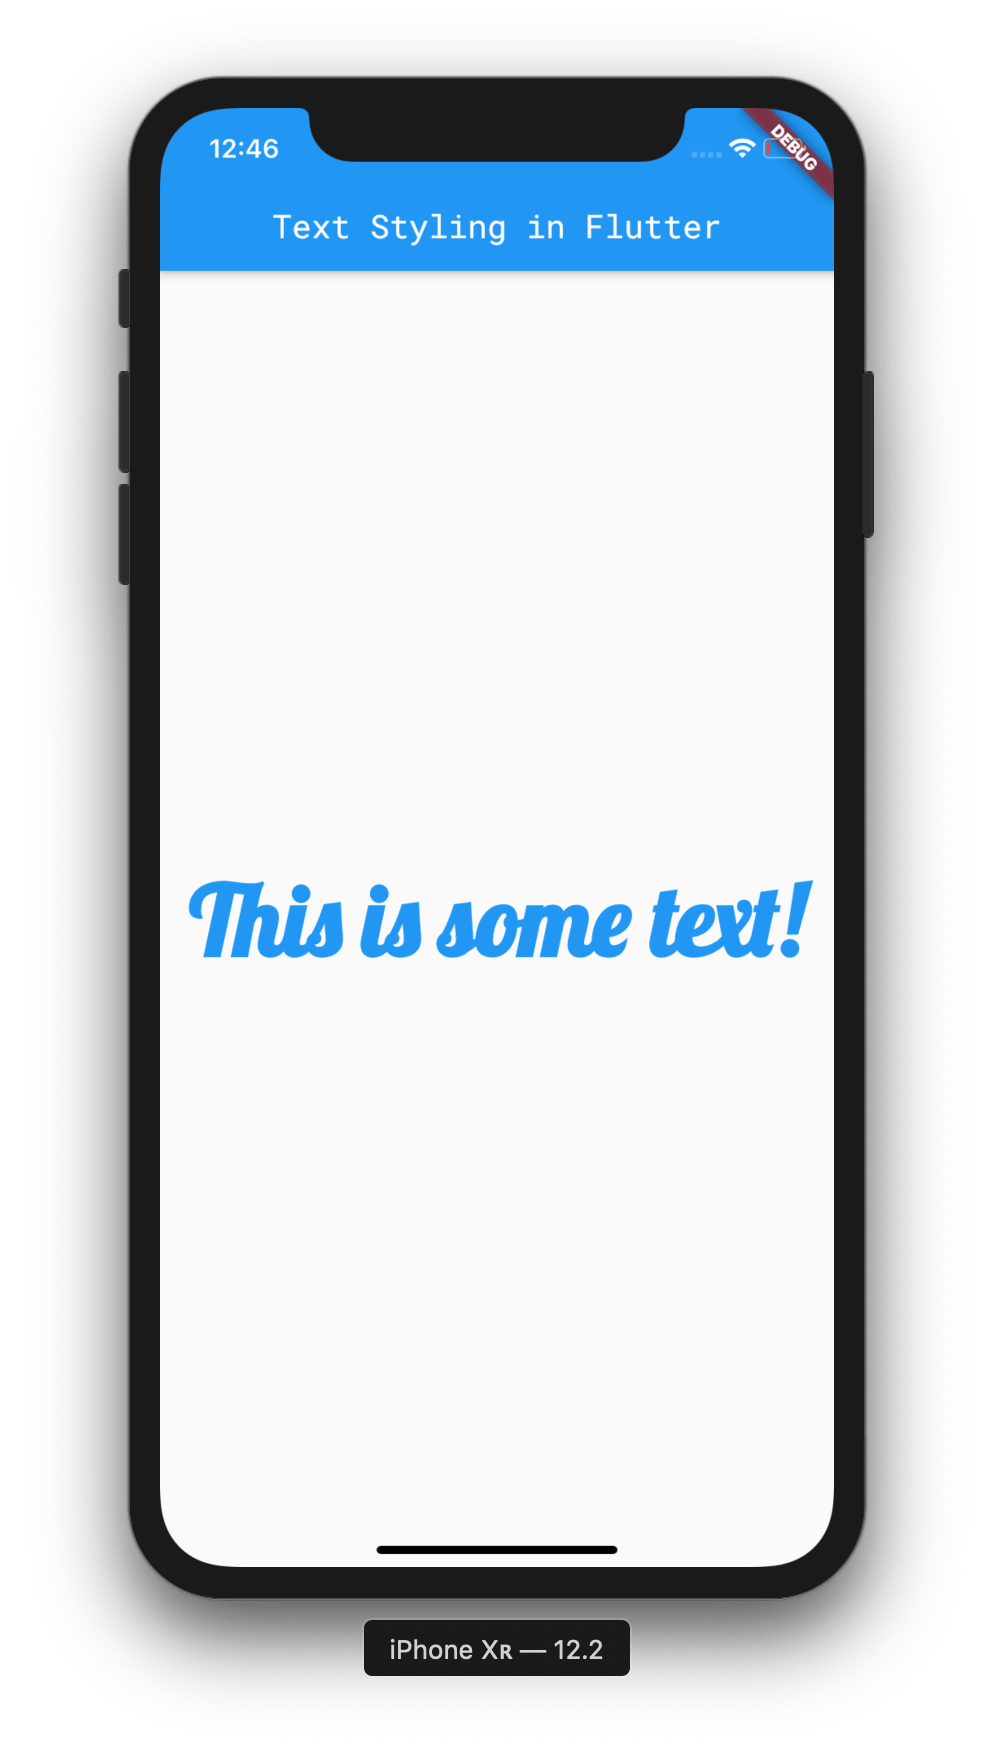
Awesome. We’ve now assigned our Text widget a specific font, seperate from the rest of the application.
I hope you’ve learned a lot throughout this post, be sure to subscribe to keep up-to-date with any future Flutter content!
The source code for this project can be found here: https://github.com/ohalliday/text-styling-flutter